DIY Coatrack How-To
When 40 feet of tree almost crush your backyard cinder block wall... make lemonade. Or, in our case, a custom coatrack. After the tree fell we chainsawed it into manageable pieces and kept one long, straight branch with the hopes of using it in a future project.Fast-forward several months. A fresh coat of gray paint, white baseboards and new laminate wood floors demanded a decent coat rack for our front entry. Light bulb!We'd finally found the perfect project for that old, dried out log leaning next to the shed. Our plan was to cut a plank out of the middle using the table saw, knowing full well chances were slim I'd be able to get a straight enough plank to actually mount to the wall. In which case we could just toss the wood and mount our coat hooks to the wall individually. Who knew it'd turn out as handsomely as it did?
Here's how we made our custom coat rack:
Step 1 - Pick Your Stick
 Find a nice dried out branch. It's important that the branch be several months dry before you cut into it, so the blade can slice right through.
Step 2 - Get the Table Saw
 Set up your table saw. Yes, I did this on a table saw. I wish I had a rip saw but there are safe ways to do it my way.
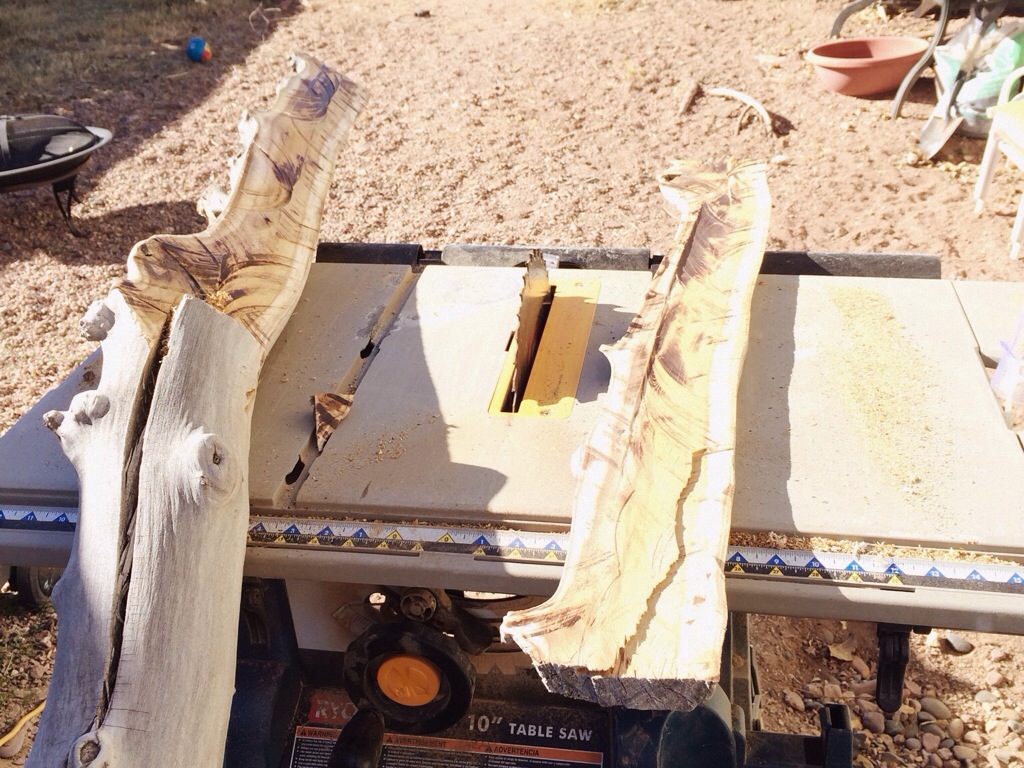
Step 3 - Cut the Wood
 My log was too thick for the table saw blade to cut all the way through. So I'd cut about a 6-12 inch line on one side, then roll the log over and match the line on the other side.I could look down through the first cut and see the blade coming through the second cut, making sure to keep cuts from both sides in line.In other words, I eyeballed it.
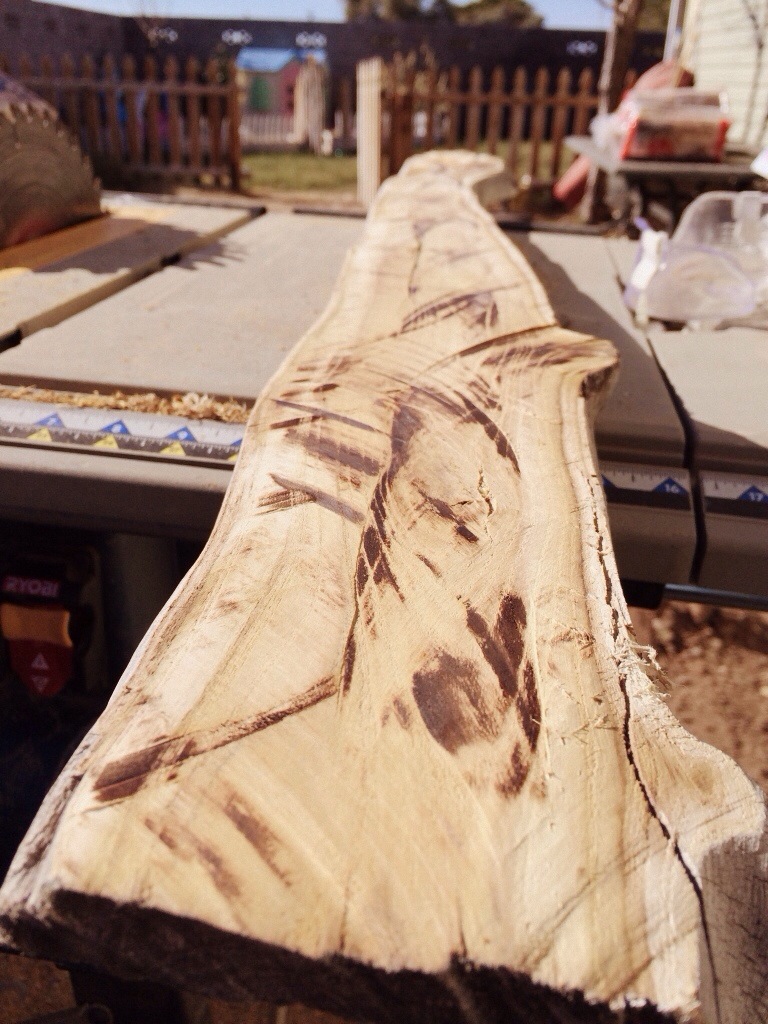
Step 4 - Cut SLOWLY
Cutting slowly will help you make straighter cuts (I eyeballed the lines remember?) and as your blade heats up, it'll etch some really nice burn marks across the wood for a unique, worn look.
Step 5 - Mount It
 That's it. No staining. No paint. No sanding. We loved the way the natural wood came out with the burn marks. The dry layer of bark around the outside actually greyed just right, making for a perfect match to our wall color (completely by accident).
 We test-placed the hooks on the board while it was laying on the ground.Then, we mounted the board and finished by installing the hooks.
 It works! Coats, consider yourselves hooked.